
A 10×12 home gym layout gives you 120 square feet: enough for a rack, a bench, one piece of cardio equipment, and a functional warm-up zone, but only if you place each piece in the right sequence. The binding constraint is not the room size. It is the clearance logic that governs a standard 7-foot barbell and every piece of equipment that must coexist with it. US home fitness equipment wholesale sales reached roughly $6.5 billion in 2023, up 26.8 percent since 2019,8 which means more small rooms are being converted to serious training spaces. The broader home gym layout overview covers the full range of layout decisions. This guide goes deep on the 10×12 footprint specifically: how to map clearances, where to anchor the rack, how to pick a cardio option, and how to protect the floor space that makes training safe.
Quick Answer
Can you build a functional home gym in a 10×12 room?
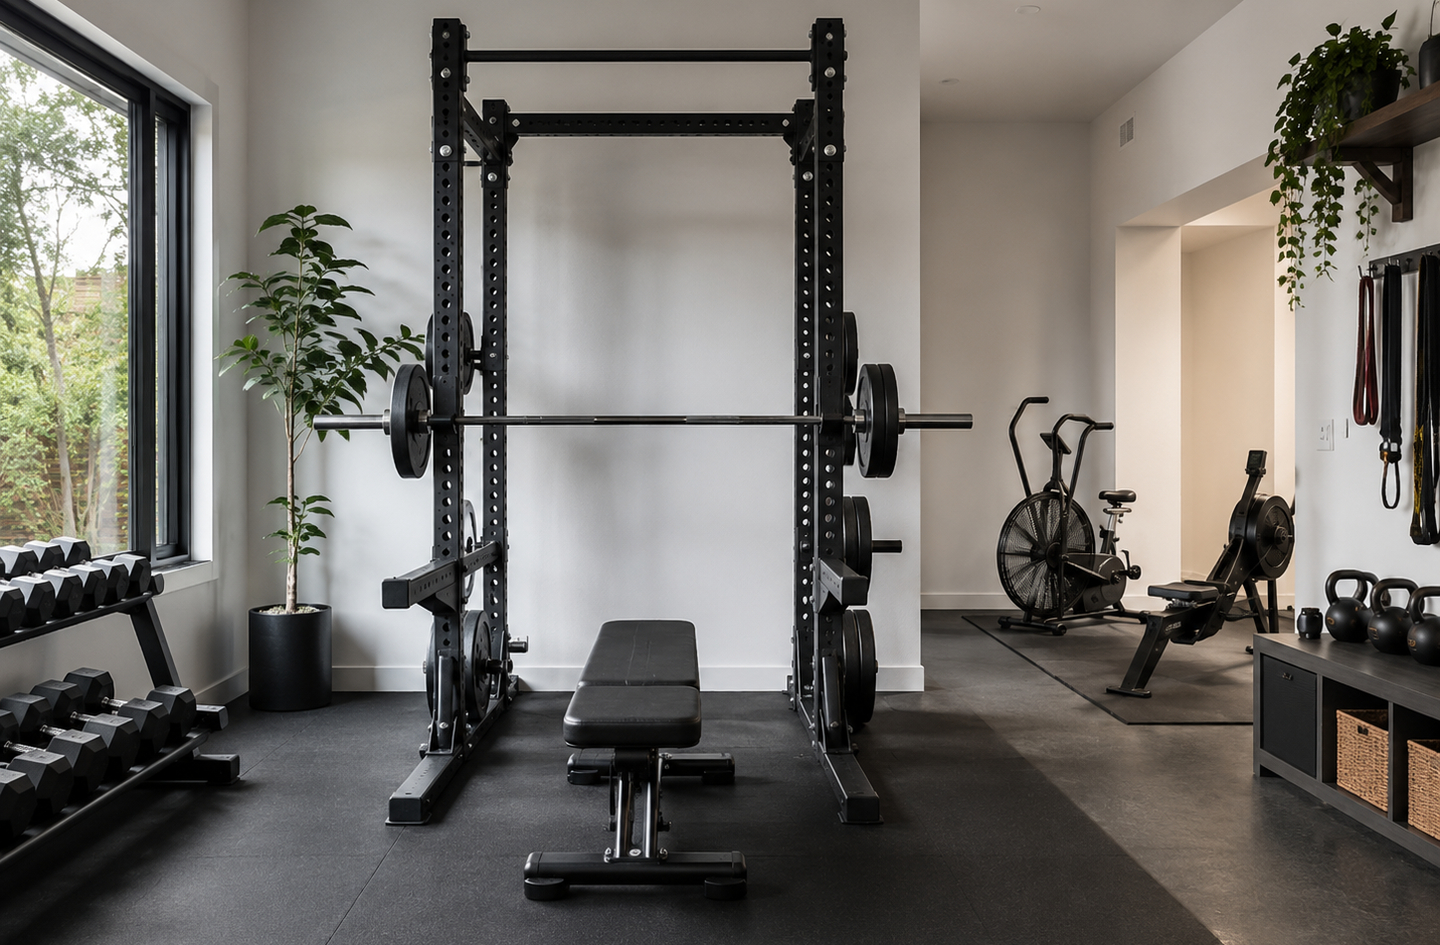
Yes. A 10×12 room (120 sq ft) can fit a compact power rack (roughly 20 sq ft footprint), a standard adjustable bench (about 8 sq ft), and a space-efficient cardio option such as an exercise bike (8 sq ft assembled) or a foldable rowing machine (16 sq ft footprint, storable between sessions). The governing constraint is the barbell: a standard Olympic bar is 86.75 inches long,2 leaving only about 33 inches of total side clearance in a 10-foot room after accounting for the rack uprights. Plan clearances on paper before moving anything into the room.
Key Takeaways
- A standard Olympic barbell is 86.75 inches long (just over 7 feet), so a 10-foot-wide room leaves roughly 16 inches of clearance on each side of the bar after the rack uprights – a constraint most room planners underestimate until the bar is already in the room.2
- The NSCA recommends at least 36 inches of clearance between barbells and adjacent equipment in training facilities; in home gyms, 18 inches is the practical minimum, but less than that creates a loading hazard, not just a tight fit.1
- An exercise bike’s 8 sq ft assembled footprint and a foldable rowing machine’s session-only 36 sq ft use zone make them the two most practical cardio choices for 120 sq ft; a mid-size treadmill with safety clearance claims roughly 78 sq ft – nearly two-thirds of the room.567
- Wall-mounted storage is not optional in a 10×12 gym: it is the only way to keep enough open floor for a safe warm-up zone and clear loading paths alongside the rack.
Before You Plan: What to Measure First
Before any equipment enters a 10×12 room, four measurements govern every layout decision. First: the door swing arc. Swing the door fully open and mark where it stops on the floor with painter’s tape. No equipment can occupy that zone. Second: the electrical outlet locations. Cardio machines that require power need a direct path to a grounded outlet without a cord crossing the barbell loading area. Third: the room’s exact clear dimensions after baseboards, trim, and any existing shelving. A 10×12 room on a blueprint is rarely 120 inches by 144 inches at floor level. Measure to the drywall, not to the door frame. Fourth: the ceiling height, which this guide does not cover. If your ceiling is at or under 8 feet, verify overhead clearance for your specific rack model before finalizing the position.
Know the barbell length before sketching anything. A standard 7-foot Olympic bar is 86.75 inches from sleeve tip to sleeve tip.2 In a 10-foot-wide room (120 inches of clear floor), that leaves 33.25 inches total on both sides of the bar combined: for wall clearance, for rack uprights, and for any off-axis drift during a loaded lift. That math is tight. It means a 10-foot room can physically hold a 7-foot bar inside a rack, but the margin is narrow enough that every inch of wall-mounting, trim, or baseboard intrusion matters. Measure the clear floor, not the nominal room dimension.
Step 1: Map Every Non-Negotiable Clearance
By the end of this step, you will have marked three invisible zones on your floor plan: the door swing arc, the barbell swing path, and the plate-loading path. These zones are not occupied by any permanent equipment. They are the infrastructure of safe training in a small room.
Begin with the door arc. Mark it on the floor with painter’s tape. If the door swings into the room, the first wall-anchored piece goes on the hinge side. A plate tree or shelf inside that arc blocks egress during loading steps – a scenario worth preventing on paper.
The barbell swing path is the most consequential invisible constraint in a 10×12 gym. A 7-foot bar must sweep from horizontal (as stored on the J-cups) to any lifted position without contacting the floor, the rack uprights, or adjacent storage. In a 10-foot room, the bar spans most of the short dimension. After subtracting the rack upright width (typically 2 to 3 inches per upright, so 4 to 6 inches combined for a standard cage), the open air between each sleeve tip and the adjacent wall drops to roughly 13 to 16 inches per side. That is a planning reality, not a safety certification. It means no shelf, no plate tree, and no mat stack can project into that sleeve clearance zone.
The plate-loading path runs along the side of the rack where you slide plates onto the bar. It needs unobstructed horizontal access to both sleeves and at least 18 inches of standing room beside each sleeve end. Placing a dumbbell rack or bench directly beside the sleeve end forces you to step over or around obstacles while holding a loaded plate. That movement pattern is where loading injuries occur in small gyms, and it is avoidable through planning.
“Barbells and dumbbells should have a minimum of 36 inches (91 cm) of space between other barbells and dumbbells.”1
NSCA, Essentials of Personal Training (3rd ed.), Chapter 24 – Setting Up a Home Gym Facility
The NSCA’s 36-inch standard is calibrated for commercial multi-user facilities. The same source notes that home gyms routinely operate with 18 inches (45.7 cm) of clearance rather than 36, given that single-user settings carry different collision risk profiles.1 Eighteen inches is the working minimum for a solo-user 120 sq ft gym. Aim for 24 inches on each open side of the loaded bar when the room allows it. The loading and unloading path beside each sleeve should not fall below 18 inches in any layout you commit to on the floor.
Step 2: Position the Rack Against the Long Wall
By the end of this step, the rack has a confirmed wall position and you know the exact remaining floor area for every other piece of equipment. This is the anchor point that determines the rest of the layout.
In a 10×12 room, the rack backs against the 12-foot wall. That orientation runs the rack’s depth into the room so the bar orients across the 10-foot width, and you retain 12 feet of front-to-back depth for the bench, cardio zone, and warm-up area. Placing the rack against the 10-foot wall compresses that movement depth into the shorter dimension.
A compact full cage – the Titan T-2 Series Power Rack is a commonly referenced benchmark – has an overall footprint of 57 inches wide by 50 inches deep, occupying approximately 19.8 square feet of floor space.3 Pushed against the long wall with 12 to 18 inches of clearance from the wall to the rear upright (for J-cup adjustment and bail-out clearance), the rack’s front uprights sit roughly 5.5 to 6 feet from the long wall. That leaves 6 to 6.5 feet of room depth on the open floor side for the bench, the cardio equipment, and the warm-up zone.
Center the rack across the 10-foot width. The bar’s 86.75-inch total length leaves approximately 14 to 17 inches of side clearance from each sleeve tip to the adjacent wall. That is the room’s hard spatial limit: no storage unit, mirror, or mat stack mounted on the side wall can project into that clearance zone.
Keep at least 12 inches from the rear upright to the wall. That minimum allows J-cup adjustment, rear safety arm installation, and a bail-out path. Zero rear clearance makes rear-mounted accessories uninstallable without moving the entire rack.
Step 3: Slide the Bench Into the Loading Zone
By the end of this step, the bench is positioned inside or directly in front of the rack, oriented so that loading a barbell for a press does not require stepping around any other piece of equipment.
A standard adjustable bench has a compact, predictable footprint. The REP Fitness AB-3100, which represents the compact end of the adjustable-bench market, measures 50.5 inches long by 23 inches wide in the flat position.4 That is just over 4 feet long and under 2 feet wide: 8.1 square feet. Oriented with its long axis running front-to-back inside the rack (seat facing the front opening), it fits within most cage footprints without blocking the barbell path. The bench’s four legs land on the floor inside the cage’s footprint, and the lifter walks in from the front opening to lie down for a press.
Bench orientation matters for safety, not just fit. The bench’s long axis should run parallel to the barbell, not perpendicular to it. That way, the press bar path stays vertically inside the rack’s uprights and safety arms throughout the movement. Rolling off the bench sideways in that orientation lands the lifter on open floor rather than into storage or a side wall. Perpendicular orientation – bench width across the rack – forces the bar path diagonally through the rack opening and is typically incompatible with safety arm coverage.
Many adjustable benches fold or store vertically. Stored on end, a bench takes about 4 square feet instead of 8.1, opening floor space for mobility work or rowing if the cardio machine is also stored. In a 10×12 gym, the folding habit is part of the layout, not an afterthought.
Step 4: Choose the Right Cardio Footprint
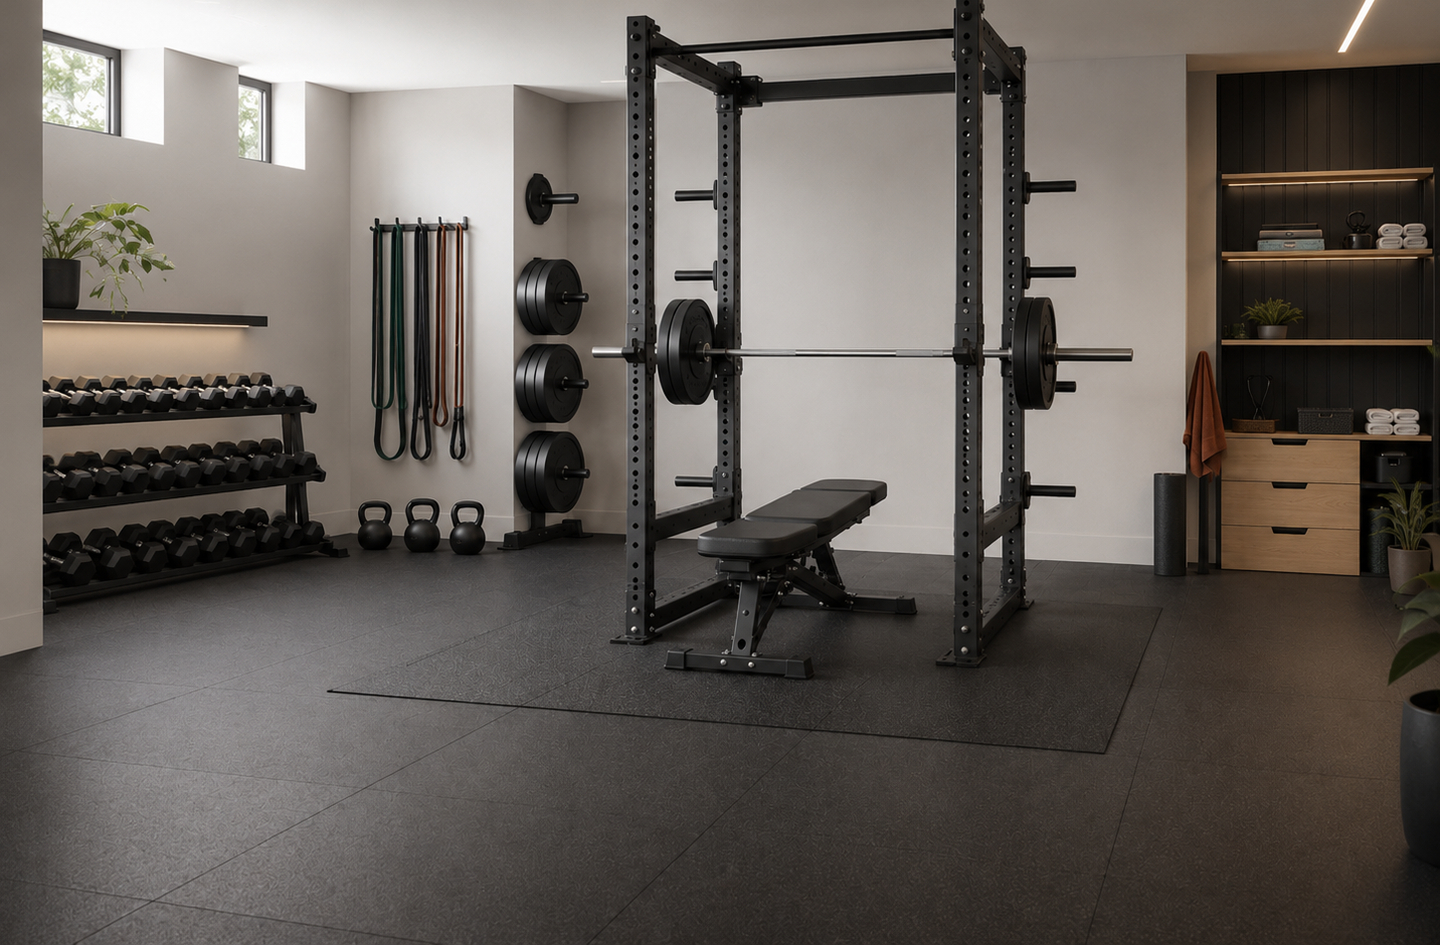
By the end of this step, you will have selected one cardio option whose floor claim is compatible with the remaining room area. After positioning the rack (approximately 20 sq ft) and bench (8 sq ft), roughly 90 to 92 square feet remains. The cardio decision determines how much of that floor survives as usable movement space.
Three cardio options appear in most 120 sq ft gym plans: an exercise bike, a rowing machine, and a treadmill. Their spatial requirements are not comparable. They differ by a factor of nearly ten in total use zone, which determines whether a functional warm-up area survives in the same room.
| Equipment | Assembled Footprint | Use Zone (with clearance) | Storable |
|---|---|---|---|
| Exercise bike (BikeErg) | 8 sq ft (48 in x 24 in) | ~8 sq ft (frame stays fixed) | No |
| Rowing machine (RowErg) | 16 sq ft (96 in x 24 in) | 36 sq ft (9 ft x 4 ft)5 | Yes (2 pieces) |
| Treadmill (mid-size) | ~15 sq ft (72 in x 30 in) | ~78 sq ft (machine + clearance)7 | No |
Exercise Bike
The Concept2 BikeErg assembles to 48 inches by 24 inches: 4 feet by 2 feet, or approximately 8 square feet.6 The machine’s frame stays fixed during use; the rider’s legs cycle above the frame without expanding the footprint. In a room with roughly 90 sq ft remaining after the rack and bench, a stationary bike consumes less than 10 percent of that area as a permanent floor claim. It is the most floor-efficient cardio choice for this room size, and its fixed footprint means no session-to-session repositioning is required.
Rowing Machine
The Concept2 RowErg assembles to 96 inches by 24 inches (8 feet by 2 feet), a footprint of about 16 square feet. Its recommended use zone is 9 feet by 4 feet – 36 square feet – to allow for the full rowing stroke and a safe dismount at the end of each pull.5 That use zone is manageable in a 120 sq ft gym if the rower is positioned in the room’s open area and the bench is folded during rowing sessions. Critically, the RowErg separates into two pieces for storage. Stored, each piece occupies roughly 25 by 33 by 54 inches. A stored rower frees up its 36 sq ft use zone entirely between sessions, making it a session-specific space claim rather than a permanent floor loss. For a disciplined user who stores the rower after each session, it competes with the bike as a practical option for 120 sq ft.
Treadmill
Home treadmills typically range from 60 to 84 inches long and 24 to 36 inches wide.7 A mid-size machine at 72 inches by 30 inches has a footprint of about 15 square feet. The safety clearance around it adds substantially: 2 feet on each side of the belt and 6 feet behind the machine create a safe dismount zone and prevent impact injury if a runner loses footing.7 With those clearances included, a mid-size treadmill claims roughly 78 square feet of functional floor space. In a 120 sq ft room, 78 square feet leaves 42 square feet for a rack (20 sq ft), bench (8 sq ft), and any open warm-up area. There is not enough space. A full-size treadmill is not a compatible choice for a 10×12 gym if the rack, bench, and a minimal open floor zone are all present.
Step 5: Claim Vertical Space for Storage
By the end of this step, every heavy or bulky item has a designated wall or rack-mounted location. Nothing is stored on the open floor except during active use.
Storage in a 10×12 gym is not an aesthetic decision. It is a safety decision. A plate left on the floor beside a rack is an obstacle in the loading path. A dumbbell pair stored flat on the floor in the warm-up area is a trip hazard during any lateral movement. “Storage is safety” is not a slogan in a small gym; it is the engineering logic that determines whether you can safely move through the room between sets.
Weight plates belong on wall-mounted plate storage or on the rack’s integrated weight storage horns. Wall-mounted plate storage keeps the heaviest items as close to the barbell’s loading point as possible, minimizing the distance you carry a loaded plate before sliding it onto the bar. A 45-pound plate that travels 3 feet from a wall mount is lower-risk than one that travels 12 feet from a floor tree across the room. Position wall-mounted plate storage on the long wall, adjacent to the rack, within arm’s reach of both sleeves.
Dumbbells and kettlebells are the second category that competes for floor space. A compact vertical dumbbell shelf mounted at shoulder height on the long wall keeps these items off the floor with a wall depth of 10 to 14 inches. A horizontal floor-level dumbbell rack, by contrast, can occupy 3 to 4 feet of floor depth and creates a tripping edge near the rack during any lateral movement.
Resistance bands and small accessories belong on wall-mounted hooks or a narrow cabinet at the room’s edge. In a 10×12 room, vertical storage is not a style preference. It is the only way to preserve enough clear floor for a functional warm-up zone and safe loading paths.
Step 6: Mark the Warm-Up Zone and Protect It
By the end of this step, you have identified the room’s open floor zone and committed to keeping it clear of stored equipment during every session. This is the space where the training actually starts.
After the rack (20 sq ft), bench (8 sq ft), cardio machine (8 to 16 sq ft assembled), and a storage wall (typically 10 to 14 inches of projection), the remaining clear floor in a 10×12 gym is roughly 50 to 60 square feet. That is enough for a 6-foot by 8-foot open zone (48 sq ft): adequate space for dynamic warm-up movements, stretching, foam rolling, hip circles, and bodyweight prep work before loading the bar.
The warm-up zone belongs between the rack and the cardio machine, in the center and front half of the room. That placement lets you move from cardio to the rack and back to the floor for mobility work without repositioning anything. A 6 by 8 foot mat defines the boundary and keeps the zone visibly distinct from the equipment area.
The most common failure mode in small gym layouts is storage creep. A pair of dumbbells stays in the warm-up zone after one session; a foam roller stays where it landed. Within weeks, the zone is half-occupied and transitions become obstacle courses. Treat the warm-up boundary as a hard rule. In a 10×12 gym, clear floor is training infrastructure, not dead space.
Common Placement Mistakes in a 10×12 Room
Most layout problems in 120 sq ft gyms are predictable. They fall into three categories, and each one is fixable at the planning stage and expensive to fix after the equipment is in place.
Placing the Rack in a Corner
That arrangement looks efficient on a floor plan – it seems to push the rack out of the way. In practice, it eliminates the loading path on two sides simultaneously. The corner-side sleeve has inches of wall clearance, not feet. You cannot reach the rear J-cups without stepping between the uprights. Corner racks belong in larger rooms where the corner shortens walking paths, not in 10×12 rooms where corner placement blocks the only viable loading approach. Keep the rack centered on the long wall, uprights aligned to the room’s axis.
Skipping the Barbell Swing-Path Math
The single most common planning error is not checking whether the barbell fits before the rack arrives. A 7-foot bar is 86.75 inches long.2 After subtracting typical rack upright widths on each side, each sleeve tip sits 13 to 16 inches from the adjacent wall. A storage shelf or mirror projecting 4 to 6 inches from the wall reduces that clearance to 7 to 12 inches – too little to slide a standard plate onto the bar without contacting the wall. Measure the clear floor width first, then commit to anything mounted on the side walls.
Choosing a Treadmill in a 120 sq ft Room
The treadmill’s footprint looks manageable on a spec sheet: 15 to 21 square feet for the machine itself. The problem is safety clearance. A 6-foot rear dismount zone and 2-foot side buffers add roughly 60 square feet to the functional floor claim, bringing the total to 75 to 80 square feet in a 120 sq ft room. What remains must accommodate the rack, bench, and storage with no floor left for a warm-up zone. A rowing machine or exercise bike is the right cardio choice at this scale.
What a Working 10×12 Home Gym Layout Achieves
A functional 10×12 home gym layout assembles in layers. The rack anchors to the long wall, centered across the 10-foot width, rear uprights 12 to 18 inches from the wall. The bench fits inside or directly at the rack’s front, parallel to the bar. A bike or storable rower occupies the front corner. Wall-mounted plate storage and a vertical dumbbell shelf keep heavy items off the floor. The remaining 50 to 60 square feet of clear floor runs from the rack’s front to the opposite wall – wide enough for a full warm-up routine and bodyweight work.
In that configuration, the room supports rack work, bench press, accessory dumbbell work, and cardio without rearranging anything between movements. No rearranging, no stepping over equipment, no compromised loading paths: that is the benchmark for a working layout at 120 sq ft. Start with the clearances, anchor the rack, and let every other piece find its place.
Frequently Asked Questions
Can I fit a full power rack in a 10×12 home gym?
Yes, a compact full power rack fits in a 10×12 room. The Titan T-2 Series, for example, has an overall footprint of 57 inches wide by 50 inches deep, approximately 19.8 square feet.3 Centered against the long wall with 12 to 18 inches of rear clearance, it leaves 6 to 6.5 feet of room depth for the bench, cardio equipment, and a warm-up zone. Verify that the rack’s height clears your ceiling before ordering.
What is the best cardio machine for a 10×12 home gym?
An exercise bike is the most space-efficient option: the Concept2 BikeErg assembles to 8 square feet and requires no additional clearance during use.6 A foldable rowing machine is a close second for users who store it between sessions, freeing its 36 sq ft use zone when the rower is stowed.5 A treadmill is generally not compatible with a 120 sq ft gym that also contains a rack and bench.
How much side clearance does a 7-foot barbell need in a small gym?
A standard Olympic barbell is 86.75 inches long from sleeve tip to sleeve tip.2 In a 10-foot room (120 inches), after subtracting the rack upright width on each side (roughly 3 inches per side), each sleeve tip sits approximately 13 to 16 inches from the adjacent wall. No wall projection – shelf, mirror mounting, plate horn – can enter that zone or loading becomes mechanically blocked before the bar reaches full extension. The NSCA recommends 36 inches of clearance between barbells in commercial settings; 18 inches is the home-use minimum.1
Do I need 8-foot ceilings for a power rack in a 10×12 gym?
Ceiling height requirements depend on the rack model’s total height and the movements you plan to perform. Most full-size power racks stand 90 inches (7.5 feet) or taller, and overhead press or pull-up movements add the barbell’s travel or the lifter’s head clearance above that. Standard 8-foot (96-inch) ceilings provide some margin with compact racks but are tight for overhead press inside the rack. This guide covers floor-plan layout only. Ceiling height clearance should be verified against the specific rack model before purchase.
What flooring works best for a 10×12 home gym?
Rubber stall mats (typically 4 feet by 6 feet by 3/4 inch) are the most common flooring choice for home gyms with free weights. For a 120 sq ft room, five to six mats cover the floor with minimal cutting. Rubber flooring absorbs impact, protects the subfloor from dropped weight plates, and provides a stable surface for rack feet. If the subfloor is concrete with any moisture concern, verify that the concrete is sealed or that a vapor barrier is in place before laying mats, as trapped moisture under rubber accelerates mat off-gassing and subfloor degradation.
Limitations and Edge Cases
- All clearance figures in this guide assume a standard 7-foot (86.75-inch) Olympic barbell. A shorter specialty bar (such as a 6-foot or EZ-curl bar used for accessory work) changes the sleeve-clearance math, but does not eliminate the need to verify clearance before mounting anything on the side walls.
- The layout logic here assumes a single user at a time. A two-person training scenario requires re-evaluating the clearance zones, particularly around the loaded bar and the loading paths on both sides of the rack.
- Ceiling height, wall structural readiness for mounting, and anchor load capacity are outside the scope of this floor-plan guide. Wall-mounted storage that carries significant weight (plate storage, pull-up bars) should be evaluated by a licensed contractor or structural professional before installation.
References
- NSCA – Setting Up a Home Gym Facility, Essentials of Personal Training (3rd ed.), Chapter 24. National Strength and Conditioning Association, 2022.
- Rogue Fitness – The Ohio Bar product specification table (total length 86.75 in, loadable sleeve 16.40 in). Manufacturer spec sheet, accessed 2025.
- Titan Fitness – T-2 Series Power Rack product specification page (overall footprint 57 in x 50 in). Manufacturer spec sheet, accessed 2025.
- REP Fitness – AB-3100 Adjustable Weight Bench product specification table (length 50.5 in, width 23 in). Manufacturer spec sheet, accessed 2025.
- Concept2 – RowErg product page (assembled: 96 in x 24 in; use zone: 9 ft x 4 ft; storage: separates into two pieces). Manufacturer spec, accessed 2025.
- Concept2 – BikeErg product page (assembled: 48 in x 24 in). Manufacturer spec, accessed 2025.
- BarBend – Treadmill Size Guide (average machine 60-84 in long x 24-36 in wide; recommended clearance: 2 ft each side, 6 ft behind). BarBend editorial team, 2025.
- SFIA – Manufacturers’ Sales by Category Report: industry grew 4.2% in 2023, up 26.8% since 2019. Sports and Fitness Industry Association, 2024.
Conclusion
A 10×12 home gym layout works when the clearances drive the decisions. The barbell defines the side margins of the room. The rack anchors to the long wall and every other piece follows from that anchor. A bike or storable rower keeps the cardio footprint manageable. Wall-mounted storage keeps the floor clear. The warm-up zone protects the training flow that makes the room functional between heavy sets.
For the broader principles that apply across room types and room sizes, see the home gym layout overview for how clearance, storage, and training flow connect across a wider range of layouts.