A home lifting area has to answer one question before the rack arrives: does every lift have room to load, move, and fail safely? Strength zone design answers it for homeowners, garage lifters, and basement builders who want barbell training without crowding the room. The scale is larger than it looks. A competition barbell can reach 2.2 m, about 87 inches, in total overall length1. This hub orders the decisions, from frame and bar to bench, storage, and floor, and routes to deeper guides on each one.
Quick Answer
What is strength zone design?
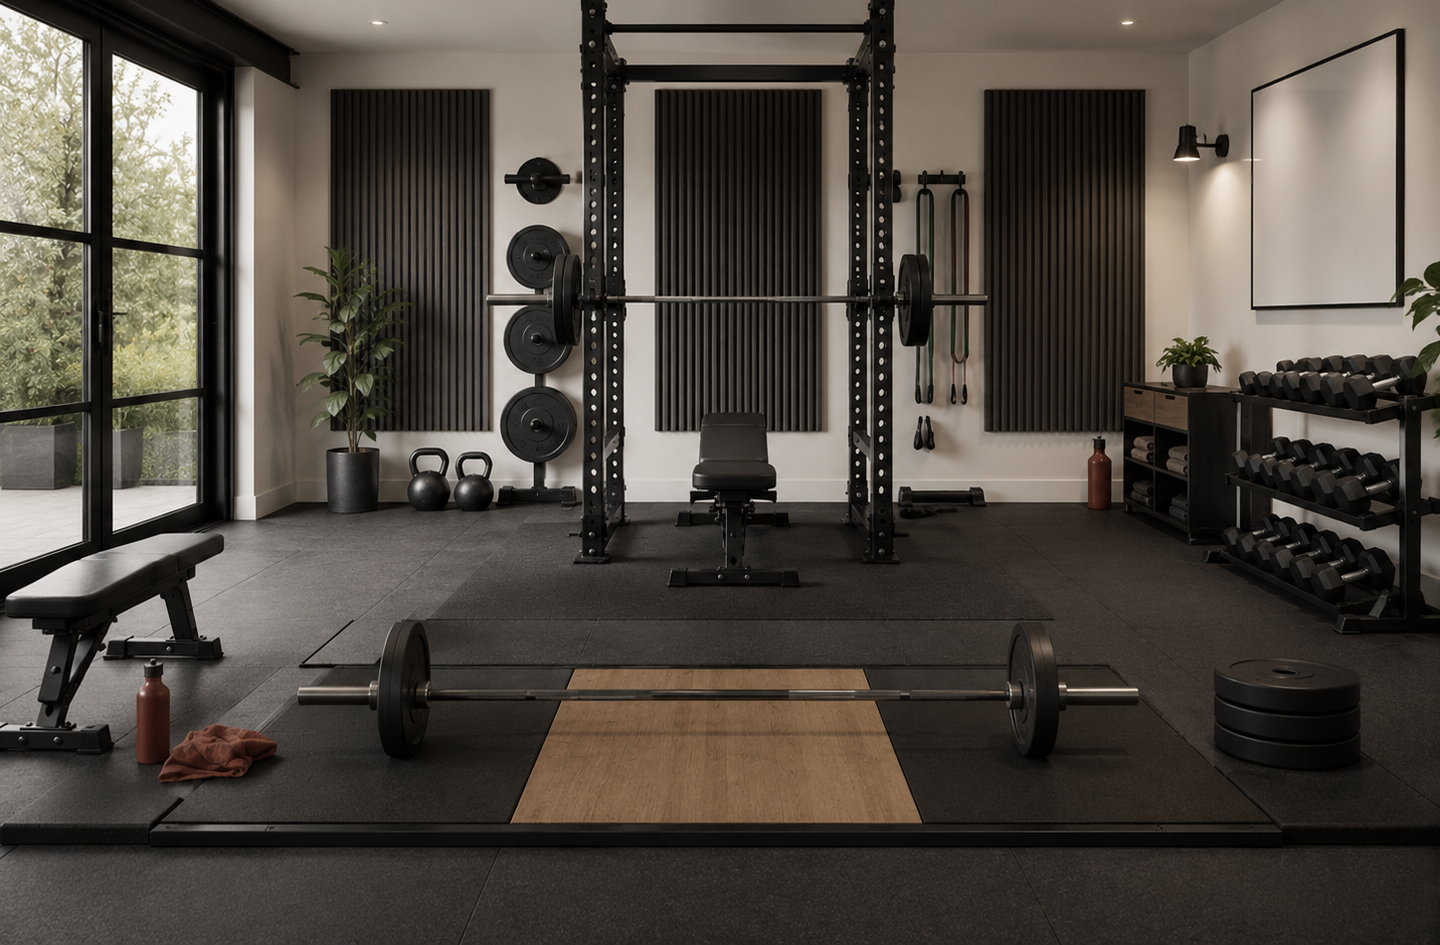
Strength zone design is the room-first layout of a home lifting area. The rack, bar, bench, plate storage, and floor are planned as one footprint, with clearance on every side. NSCA’s bench-press spacing example uses a 6 ft bench, a 7 ft bar, and 3 ft of safety space on each side, which works out to 156 square feet2. That is far more floor than the equipment alone.
Why it matters:
Most home lifting problems start on paper. A zone planned around equipment sizes alone leaves no room to load plates, step out of a failed rep, or walk past the bar.
Key Takeaways
- An IPF-spec bar and its collars weigh 25 kg, about 55 lb, before any plates go on1.
- In U.S. emergency-department data from 1990 to 2007, the most common injury mechanism was weights dropping on a person (65 percent)3.
- The rack, barbell, bench, storage, floor, and kit priorities work as one connected footprint, so each choice changes the clearance left for the others.
- The most common misconception is that a rack’s footprint equals the space it needs; the bar, the bench, and the bail-out zone all extend past the frame.
Strength Zone Design in 30 Seconds
| If you are… | Do this |
|---|---|
| Planning a room with a low ceiling | Measure the lowest overhead point first, then pick rack height and style around overhead lifts. |
| Fitting a rack and bench in one corner | Plan the bench inside the uprights and keep one side open for loading plates. |
| Training alone with heavy loads | Choose a frame with safeties you can set just below the bottom of each lift. |
| Sharing a garage with a car | Keep the bar’s full length clear of the car and the door track at both sleeves. |
| Pulling heavy deadlifts from the floor | Protect the floor where the bar lands, with a platform or thick rubber mats. |
| Starting on a tight budget | Measure the room, then buy the rack and bar before the bench, plates, and storage. |
What Strength Zone Design Covers
Strength zone design differs from equipment shopping because it plans the empty space around each lift, not just the frame that holds the bar. It treats the lifting area as one footprint where the rack, bar, bench, plates, and floor share the same clearance.
A strength zone is the floor area that holds the rack, the loaded bar, the bench, and the space a lifter needs to load, lift, and step away. It sits apart from cardio and storage areas so foot traffic does not cross the bar path.
The loading path is the strip of floor at each end of the bar where a lifter stands to slide plates on and off. It runs in line with the sleeves, so a wall or plate tree placed there blocks every set.
A bail-out zone is the clear space a lifter uses to escape a failed rep, by dumping the bar onto safeties or stepping out from under it. Safety arms and straps reduce the risk, but only when they are set at the right height.
The zone covers rack style and size, barbell length and sleeve span, bench fit inside the uprights, plate and bar storage, floor protection, and the order of purchases. For scale, NSCA facility guidance sets spacing between equipment at 36 in. or 3 ft2. That figure comes from training facilities, not homes, but it gives a useful floor for any walkway beside a loaded bar. Cardio placement, electrical work, and the structural capacity of floors or walls sit outside this hub and belong with a licensed professional.
Why Strength Zone Design Matters
Strength zone design matters because home lifting goes wrong at the edges of the frame, where plates, bars, and bodies meet things that should not be there. Hospital data shows the scale. More than 970,000 weight training-related injuries were treated in U.S. hospital emergency departments between 1990 and 20073.
Nationwide Children’s Hospital reported that the majority of injuries occurred during the use of free weights (90 percent)3. The data covers every setting, not homes alone, and it predates most home gyms. Even so, the mechanism maps onto room layout. A dropped plate needs a floor that can take it, and a lifter needs space to step clear of a falling bar.
Training frequency raises the stakes. The CDC states that adults also need 2 days of muscle-strengthening activity each week4. A home zone built for that routine gets used often, so small layout flaws repeat on every session. Three gaps show up again and again:
- Plates stored in the loading path force twisting lifts around the bar.
- A bench that does not fit inside the uprights pushes the lifter off-center under the bar.
- A rack bought before the ceiling is measured can end overhead pressing on day one.
Clearance is equipment. A zone that plans it first keeps working after the photo.
Planning a Home Strength Zone: The Clearance-First Framework
The Clearance-First Framework splits the zone into the rack, the bar, the bench, storage, the floor, and kit priorities. It was derived by grouping this cluster’s planning questions by the piece of equipment that sets each clearance, then ordering them the way a lifter meets them in the room.
Rack Style, Height, and Footprint
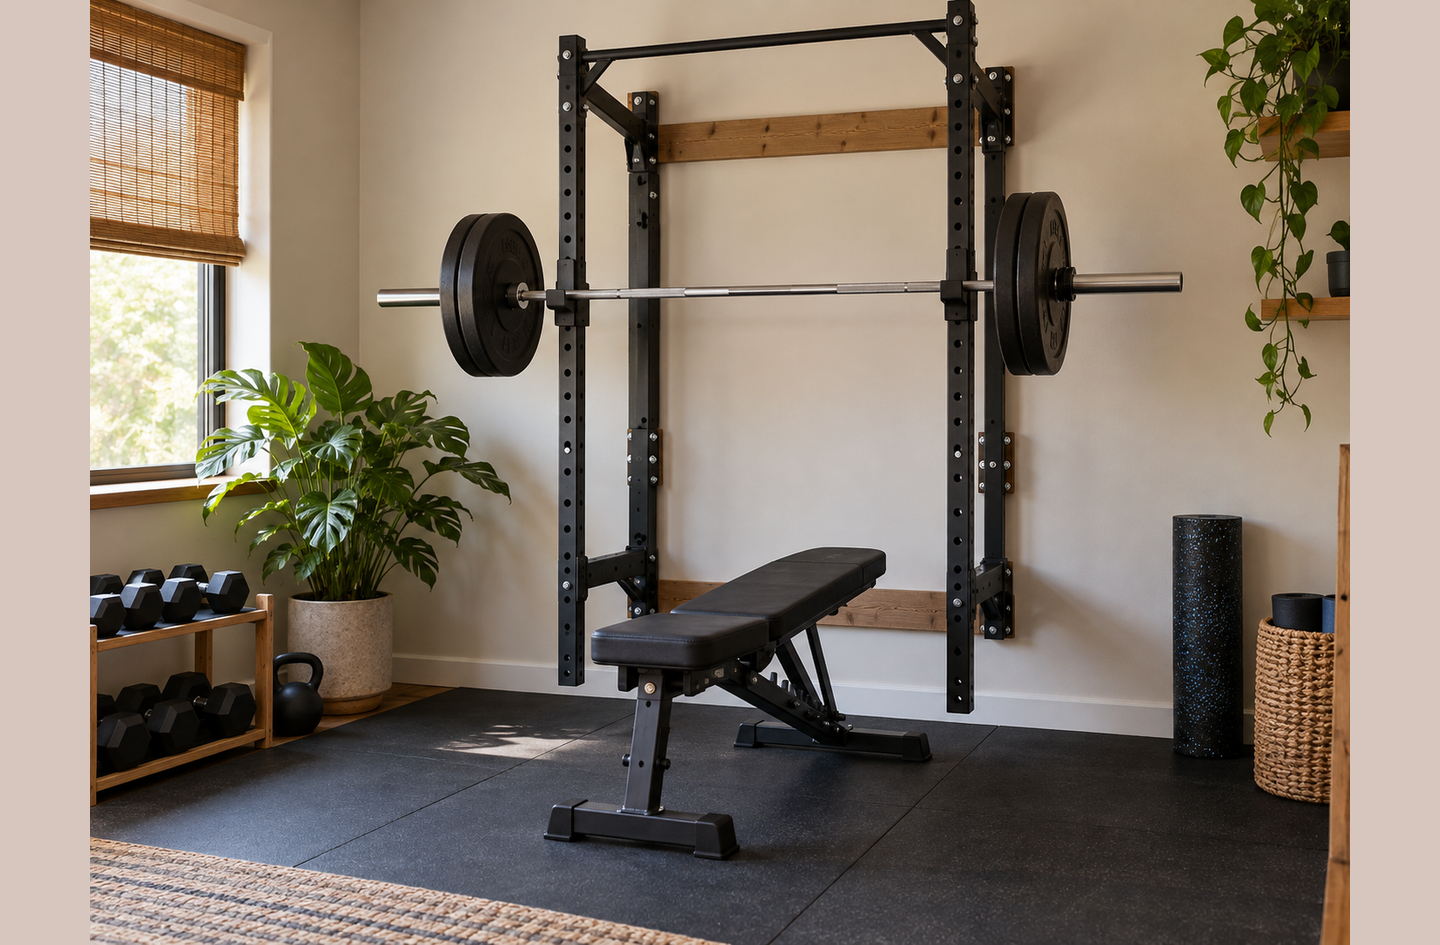
A power rack is a four-post cage with adjustable safeties inside it, while a squat rack is a two-post stand with arms or straps in front. The choice turns on the ceiling, the floor, and whether the lifter trains alone. A full cage gives the most protection for heavy solo squats and presses, because the bar can drop onto pins on any rep. A two-post stand or a wall-mounted folding rack saves floor, but it needs spotter arms set correctly and a wall that can take the anchors. Have a structural engineer or licensed contractor confirm that wall before mounting anything to it. Height is the next filter. NSCA guidance for training facilities lists a ceiling height of 12-14 ft of clearance2, which few homes reach. Home rack height has to fit the real ceiling, with room left for pull-ups and pressing.
Pick the frame by the room’s lowest overhead point and the lifter’s need to fail safely alone; footprint comes third.
Deeper read: one frame or two for bench and squat.
Deeper read: whether a folding squat rack fits your wall.
Deeper read: powerlifting racks that anchor heavy lifts.
Deeper read: squat rack or full power rack for your room.
Deeper read: squat rack dimensions with room to lift.
Deeper read: home squat racks around ceiling and floor.
Barbell Length, Sleeves, and Side Clearance
The barbell sets the zone’s width. Under IPF rules, the distance between the collar faces is not to exceed 1.32 m or be less than 1.31 m1. The collar face is the inner shoulder where the sleeve begins and plates stop sliding inward. A rack’s uprights must fit between those two faces with room left for the lifter’s hands, so rack width and bar span are one decision. The bar and collars together weigh 25 kg1, and every plate adds to the load on the J-cups, the safeties, and the floor. A shorter bar fits narrow rooms and compact racks. It trades away loadable sleeve length, and it may not span every rack.
Measure the room’s clear width at bar height before comparing knurl or whip; a bar that cannot load at both ends is the wrong bar for the room.
Deeper read: an Olympic barbell for a home rack.
Deeper read: whether a powerlifting bar fits your rack.
Deeper read: an Olympic bar for your lifting space.
Deeper read: Olympic bar dimensions and clearance.
Deeper read: one barbell for your rack and space.
Deeper read: what a loaded Olympic bar weighs.
Deeper read: small barbells for tight racks.
Bench Fit Inside the Uprights
The bench has to sit centered under the bar, inside the rack, with the lifter’s feet flat and the bar path clear of the hooks. IPF competition rules set bench length at not less than 1.22 m1. They also set pad width between 29 and 32 cm and height between 42 and 45 cm1. Those figures give a reference point for home benches, which vary more. An adjustable bench adds an incline ladder and a seat pad, which can lengthen the footprint and leave a gap between pads. Dumbbell pressing asks for elbow room beyond the pad on both sides, so that work can move outside the rack.
Check the bench against the rack’s inside width and safety height before buying; a good bench that will not center under the bar still fails the zone.
Deeper read: a bench that fits under the bar and rack.
Deeper read: benches for heavy dumbbell work.
Deeper read: the weight bench that belongs in your rack.
Deeper read: adjustable benches for the rack.
Deeper read: adjustable bench dimensions for rack clearance.
Deeper read: sizing a bench and rack to one corner.
Plate and Bar Storage Beside the Loading Path
Storage is safety. Plates belong within a step or two of the sleeves, but never inside the loading path or the bail-out zone. NSCA facility guidance places the tallest equipment and dumbbell racks along walls2. A plate tree at the end of the bar puts a heavy obstacle exactly where the lifter stands to load. Bars left on the floor become trip hazards in the same strip. Vertical bar holders and wall-mounted plate pegs keep the floor clear and leave the walking path open. Wall storage that carries heavy plates raises the same anchoring question as a folding rack, so the wall needs checking first.
Place storage where loading starts, near each end of the bar, but offset to the side so the strip in line with the sleeves stays empty.
Deeper read: barbell storage that keeps bars off the floor.
Deeper read: plate storage clear of the loading path.
Floor, Platform, and Garage Conditions
The floor takes every dropped plate and every rep pulled from it. NSCA facility guidance recommends rubber for free weight areas and wood for Olympic platforms2. A lifting platform is a raised pad, built from wood and framed or topped with rubber, that spreads deadlift impact and protects the slab or subfloor beneath it. A platform earns its floor space when heavy pulls start from the floor. For rack-only work, thick rubber mats under the rack and the loading area can do the job. Garages add cold, sloped slabs and door tracks to the list. Any concern about a framed floor’s capacity under a loaded rack goes to a structural engineer.
Protect the floor under the bar’s landing area first; a platform is a deadlift tool, not a default for every zone.
Deeper read: lifting platforms and where they go.
Deeper read: garage strength equipment for concrete and cold.
Deeper read: where stronger equipment matters in a compact zone.
Which Pieces Earn the Footprint
Every piece in a strength zone has to justify the floor it claims. A rack, a barbell, plates, and a flat bench cover squats, presses, and pulls. Most other strength equipment adds variety rather than new capability. The buying order follows the room: measure first, then choose the frame, then the bar that fits it, then the bench that fits inside both. Compact pieces such as folding racks and short bars widen the options in small rooms. Each one carries a trade-off, such as less sleeve length or a wall to check, and that trade-off belongs in the plan before money is spent. Layout before load keeps a first build from blocking the layout a lifter wants later.
Buy in the order the room demands, not the order a catalog suggests; a piece that crowds the loading path costs more than its price.
Deeper read: compact strength pieces for small rooms.
Deeper read: equipment that earns its footprint.
Deeper read: a pared-down lifting kit for the big lifts.
Deeper read: home gym equipment worth starting with.
Deeper read: core strength pieces for a lifting zone.
Deeper read: a home gym buying order.
How to Choose a Layout for a Home Strength Zone
The most important criterion is clear width at bar height, because the bar is the widest object in the zone and it must load at both ends. Work through the decisions in this order:
- Measure the room’s clear width, depth, and lowest overhead point, including beams, ducts, lights, and door tracks.
- Mark the bar’s full length on the floor, then add a loading strip beyond each sleeve.
- Choose the rack style that fits the ceiling and the training plan, then confirm its uprights fit between the bar’s collar faces.
- Center the bench inside the uprights and check pad height against the safety settings.
- Place storage to the side of the loading strips and keep a walking path past the zone.
- Plan floor protection under the rack and anywhere the bar lands.
| What to check | Reference figure |
|---|---|
| Bar length | Total overall length not to exceed 2.2 m on an IPF-spec bar |
| Collar-face spacing | Between 1.31 m and 1.32 m |
| Bar plus collars | 25 kg |
| Spacing between equipment | 36 in. or 3 ft in NSCA facility guidance2 |
| Walking path width | Exit access at least 28 inches wide in OSHA workplace rules5 |
OSHA’s workplace rule says an exit access must be at least 28 inches wide at all points5. That is a workplace minimum, not a home standard, but it sets a sensible floor for any path past a loaded bar.
Watch for three red flags. J-cups may sit so high that a pressed bar would reach the ceiling. A plate tree may stand in line with a sleeve, or a bench may touch an upright when centered. Any one of them means the layout needs another pass before purchase.
Measuring the Zone: A Worked Example
Clearance is easier to see as arithmetic. The worked example below uses NSCA’s bench-press spacing figures and IPF bar dimensions to size one bench station inside a home strength zone.
Worked example, calculated from cited inputs: NSCA’s example uses a 6 ft bench, a 7 ft bar, and 3 ft of safety space on each side. The station measures (6 + 3 + 3) by (7 + 3 + 3), or 12 ft by 13 ft, which is 156 square feet2.
A competition bar can reach 2.2 m, about 87 inches1. The 7 ft (84 inch) bar width in the NSCA example therefore runs slightly short of a full-length IPF bar2. Adding a 3 ft walkway along the 13 ft side adds 39 square feet, so the station grows to 195 square feet2.
The result explains why a rack that fits a wall on paper can still crowd a room. The frame is the small part; the loaded bar, the bench, and the space around them set the real footprint.
Height needs the same treatment. The CDC lists average height in inches for adult U.S. men as 68.96. An overhead press then adds a full arm’s length above the head. Measure the lowest beam, duct, or light above the rack before choosing its height, and plan pull-ups and presses around that point.
Common Strength Zone Design Mistakes
Mistake 1: Buying the Rack Before Measuring the Ceiling
Why it is a mistake: Rack height, pull-up clearance, and the overhead press all compete for the same vertical space. Facility guidance assumes ceilings far higher than most homes have, so a rack chosen from a product page can end overhead work on the first session.
What to do instead: Measure the lowest overhead point above the planned rack, then pick rack height and style to fit it.
Mistake 2: Storing Plates in the Loading Path
Why it is a mistake: The strip at each end of the bar is where plates go on and off, and an obstacle there forces twisting lifts with heavy plates. In emergency-department data, the most common injury mechanism was weights dropping on a person (65 percent)3.
What to do instead: Offset plate storage to the side of each sleeve and keep the strip in line with the bar empty.
Mistake 3: Choosing a Bench Without Checking the Rack’s Inside Width
Why it is a mistake: A bench that will not center between the uprights shifts the lifter off the bar’s midpoint. An adjustable bench’s seat and ladder can also add length that collides with the rack.
What to do instead: Measure the rack’s inside width and safety height, then compare them with the bench’s pad width, height, and full length.
Mistake 4: Skipping Safeties for Solo Lifting
Why it is a mistake: A lifter training alone has no spotter, so a failed squat or bench press depends on the frame to catch the bar. Safeties set too low miss the bar, and safeties set too high cut the lift short.
What to do instead: Set safeties just below the bottom position of each lift and check them with an empty bar before loading plates.
Frequently Asked Questions
How much space do you need for a squat rack?
A squat rack needs far more floor than its frame. The loaded bar, a loading strip beyond each sleeve, and a bail-out zone behind the lifter all extend past the uprights. NSCA’s bench-press example, a 7 ft bar with 3 ft of safety space on each side, comes to 156 square feet for one station2. Measure the room’s clear width at bar height and the lowest overhead point before choosing any rack style.
How long is an Olympic barbell?
Under IPF rules, a competition bar’s total overall length must not exceed 2.2 m, about 87 inches1. The collar faces sit between 1.31 m and 1.32 m apart, and the plates load outside them1. A room therefore needs the bar’s full length plus a loading strip beyond each sleeve. Shorter bars suit tight racks and narrow rooms, but they give up loadable sleeve length and may not span every rack.
How much does an Olympic bar weigh with collars?
Under IPF rules, the weight of the bar and collars is 25 kg, about 55 lb1. Plates add to that, so a heavy squat or deadlift loads the J-cups, the safeties, and the floor below them far beyond the bar’s own weight. That combined load is why floor protection belongs under the rack and the bar’s landing area. Any doubt about a framed floor’s capacity under that load is a question for a structural engineer.
Do you need a lifting platform for deadlifts?
A lifting platform earns its space when heavy deadlifts start from the floor and the bar lands there on every rep. NSCA facility guidance recommends wood for Olympic platforms and rubber for free weight areas2. For rack-only training, thick rubber mats under the rack and the loading area can protect the floor instead. Place any platform where the bar lands, with the loading path at both ends kept clear of storage and walls.
Can you bench press in a squat rack?
A bench press works inside a squat rack when the bench centers between the uprights and the safeties or spotter arms can catch the bar near chest height. IPF rules set competition bench length at not less than 1.22 m1, so a home bench needs similar room inside the frame. A two-post stand leaves less margin than a full cage for solo lifting, so the safety setup matters more there.
How This Guide Was Built
The methodology behind this guide is a desk review of published standards, facility guidance, and public health data. Figures come from the International Powerlifting Federation’s technical rules, NSCA facility guidance, U.S. government agencies, and a hospital research release, and each links to the page that carries it. The framework groups this cluster’s planning questions by the equipment that sets each clearance. The worked example rests on NSCA spacing figures and IPF bar dimensions. Home Gym Specs editors hold editorial responsibility for this guide, which is engineering-informed education and not a substitute for a licensed professional.
References
- International Powerlifting Federation – IPF Technical Rulebook, effective 1 March 2026
- National Strength and Conditioning Association – TSAC module 5: facility guidelines, equipment arrangement, and equipment spacing
- Nationwide Children’s Hospital – New National Study Examines Weight Training-Related Injuries
- Centers for Disease Control and Prevention – Physical Activity Guidelines for Adults
- Legal Information Institute, Cornell Law School – 29 CFR 1910.36, Design and construction requirements for exit routes (OSHA)
- CDC National Center for Health Statistics – FastStats: Body Measurements
Next Read
Walls before racks, airflow before cardio gear, lighting before mirrors, clearance before the first heavy set. In a strength zone, that order means measuring the room, fitting the bar and frame to it, and then buying the rest in sequence.